

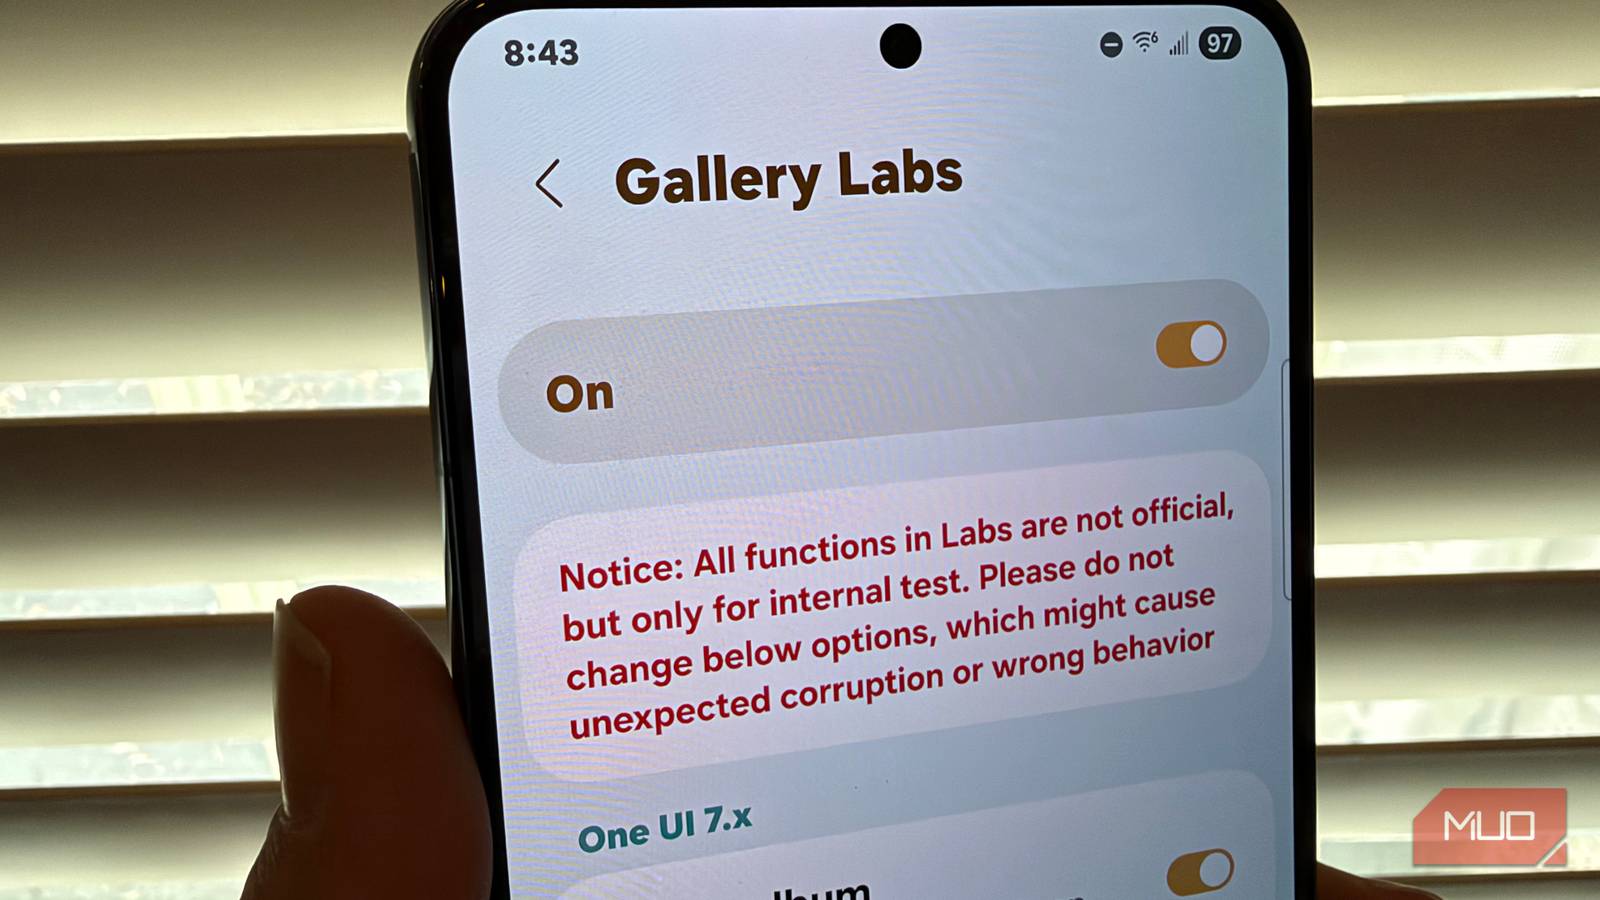

If you have a Samsung Galaxy, there’s a hidden menu in your Gallery app called Gallery Labs — and you unlock it with a secret gesture most people would never stumble onto. Once it’s on, you get a privacy vault that hides photos behind a fingerprint, tools to customize the photo viewer, and even a one-tap way to turn any photo into a PDF. I was surprised how much it adds. Here’s how to turn it on, and which features are actually worth it.
How to turn on Gallery Labs
It unlocks many new features

First things first: you need to enable Gallery Labs by doing the following (make sure your phone’s software is updated first).
- Open Gallery on your Samsung phone
- Go to Menu > Settings
- Scroll all the way down, tap About Gallery
- Towards the top, tap on the version number five times quickly until you see the message at the bottom “Gallery Labs Enabled”. You might have to tap more than five times — just keep tapping until you see the message, it might take up to 10 or 12 taps.
Now, when you go to the settings screen of Samsung Gallery, you’ll have a new item at the bottom entitled Gallery Labs.
You might have to swipe away the gallery app and re-open it for the changes to take effect. That also applies after you enable each feature: you might need to restart the app for the new features to appear.
Show addresses in photo details
See precisely where a photo was taken

By default, your phone captures location data every time you take a photo that is saved in the data file that accompanies every photo. This is both a convenience (especially when you enable Show full address in details in Gallery Labs) but also can pose a security threat if you share these photo directly.
A caveat: you will only see the address of where the photo was taken if you haven’t disabled Location Tags in the camera app.
In the case of taking photos on my Galaxy, it’s great to be able to see the exact physical address of where a photo was taken when you open the Details page on any photo (three dots > Details).
The next feature you should turn on lets you securely hide sensitive photos and videos.
Turn on Private Album
Lock photos behind a fingerprint or passcode

I’m not going to judge, but I’m sure there are certain photos in your gallery that you don’t want anyone to see if they happen to pick up your phone and use it.
With Gallery Labs, you can enable Private Album, which enables a private area of your gallery that can only be opened with a fingerprint (or PIN, or pattern, depending on how the security is set up on your device). If this sounds familiar, Android has a similar feature called Private Space that lets you lock away entire apps behind a fingerprint or password.
First, toggle on Private Album in Gallery Labs. Then, to add any photos or videos to Private Album (which will critically hide these photos and videos from view in the Gallery app), just tap and hold on any photo or video you want to move > tap the three dots > select Move to Private Album.
Then, to see your hidden photos and videos, just open the Gallery app, press the hamburger menu, and go to Private Album. You’ll be prompted to enter your password or fingerprint, then you’ll be able to view your secret content.
Got a lot of screenshots or low-res images? This next one sharpens them up.
Turn on AI Zoom
Makes low resolution photos look sharper in Gallery

This one is a little less relevant since your Galaxy is taking photos at such a high resolution.
But if you happen to have lower-resolution images or graphical assets in your gallery (like screenshots etc), turning on Use AI Zoom in the menu will noticeably improve the clarity of lower-resolution images when you zoom in a lot. What this appears to do is apply sharpening and some AI interpolation to make images look clearer when you zoom all the way in. It’s not a huge difference, but there’s no downside to turning on this feature.
There are a handful of other features you can enable within Gallery Labs that let you tweak the look and feel of the gallery app that are worth exploring.
Other Gallery Labs features to check out
Relocate menu button, save as PDF, turn off filmstrip view, and more

Depending on which version of One UI you’re on, you might have up to 20 different Labs features you can enable. Some of them are pretty boring but here’s a compendium of some of my favorites and what they do:
- Show menu in viewer bottom: this simply relocates the three-dot menu to the bottom right corner instead of the top right, where it’s easier to reach if you’re using your phone with one hand.
- Filmstrip in viewer: I turn this off, and it really cleans up the photo-viewer interface and also speeds up the gallery a bit by removing the photo-scrubber from the bottom of the photo viewer screen.
- Save as PDF: this adds a quick way to make PDF files with images via the menu button (Create > Save as PDF). This is especially handy if you find yourself taking photos of documents that you convert to PDF for single pages. However, if you have multiple pages to turn into PDF, using Google Drive’s free tool might be better.
I’m not really sure why Samsung hides a lot of these great gallery features behind an action that most people will never do — who would ever press the version number of the gallery app to unlock these features unless it was by accident? But once you enable Gallery Labs, you have a lot of great new ways to customize the gallery experience on your Samsung Galaxy.


8.5/10
- SoC
-
Snapdragon 8 Elite Gen 5
- Display
-
6.9-inch Dynamic Super AMOLED 2X
