


Budget power tools arrive with very little in the box. You get the tool, maybe a single driver bit, and a battery if you paid for the kit. For years I judged my Ryobi ONE+ tools by what they could do as shipped, and that sold them short. I’ve already covered how worn bits and blades made my Ryobi feel underpowered, and this is the other half of that story.
A handful of add-ons, most of them under $40, gave tools I already owned jobs they couldn’t do before. My impact driver now sinks lag bolts. My drill cut a vent through a garage wall and builds joints with hidden screws. None of it took a new tool or a bigger battery.
Socket adapters turned my impact driver into a cordless wrench
Lag bolts, kids’ gear, and one washer nut
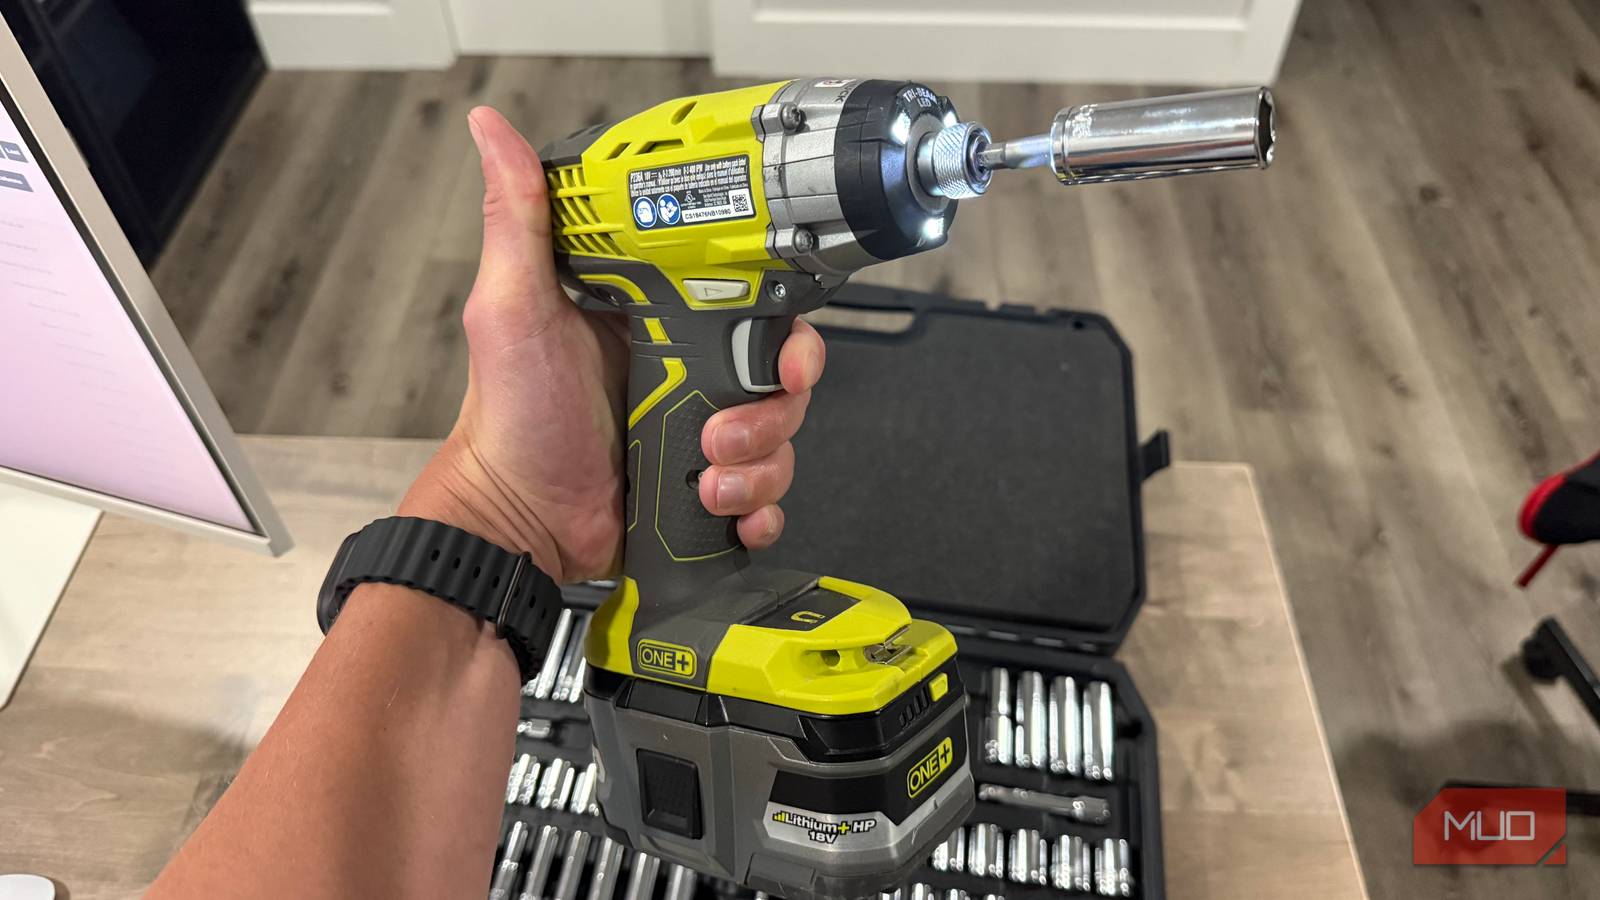
An impact driver only accepts 1/4-inch hex bits, which keeps it stuck on screws until you add a socket adapter. It’s a short steel shank with a hex end for the driver and a square drive for sockets. Sets usually include 1/4-inch, 3/8-inch, and 1/2-inch sizes for under $10.
Mine proved itself when I installed my PRx folding squat rack, which anchors to the wall with lag bolts. Ratcheting those by hand would have been slow, sweaty work. The impact driver seated each one in seconds. I had to be careful not to over-torque them, though. Since then, the same setup has helped me assemble a trampoline, kids’ bikes, and hoverboards. Twice a year, it also spins off the nut at the bottom of my washer drum so I can clean it.
Buy impact-rated adapters and sockets, the ones with a black or gray finish. Chrome hand sockets can crack under the hammering.
A long bit and a hole saw let my drill cut a vent through the wall
Mark the path first, then cut the opening
Twist bits stop at about 1/2 inch in most kits, and a hole saw picks up where they quit. I own several, including a larger bimetal one, and they all run on my Ryobi ONE+ 1/2-inch drill/driver. They’ve cut grommet holes in a desktop and openings for duct runs in my basement.
The toughest job was the portable AC unit in my garage, which needed a 9-inch dryer-style vent through an exterior wall. A big hole in the wrong spot is an expensive mistake, so I started small. I chucked an extra long drill bit, used the level built into the drill to hold it straight, and bored from the inside out. That pilot hole showed me exactly where the vent would land outside before I committed. Then I swapped in a 9-inch hole saw and cut the full opening from inside, then outside.
Hole saws like low speed and steady pressure. Back the saw out every so often to clear the dust, and let the teeth do the cutting.
A clamp-on guide gave my small circular saw a straight edge
Freehand cuts wander, guided cuts don’t

My circular saw is Ryobi’s ONE+ 5-1/2-inch model. It’s light, easy to carry, and just as easy to steer off a pencil line. For a long time I blamed the saw for wavy cuts that were really my own hands drifting.
A clamp-on straightedge fixed that. It’s an aluminum bar with a built-in clamp that locks across a board or a sheet of plywood, and the saw’s shoe rides against it for the whole cut. The result looks far closer to what a track saw produces, for $25-$40. It ranks among the upgrades that mattered more than buying a better tool in my garage.
One setup tip saves a lot of scrap. Measure the distance from the blade to the edge of the shoe once, then write that number on the saw. Every time you set the guide, offset it by that amount.
Strong joints with no visible screws

A plain drill can’t make furniture-grade joints on its own. Add a Kreg pocket-hole jig, and the picture changes. The jig clamps to your board and steers a stepped bit in at a shallow angle. A screw driven through that pocket bites into the mating piece, and the joint closes up with nothing showing on the face.
The drill doing the work is the same basic model that hangs shelves. All the precision lives in the jig, which costs about $99 for the full kit. I think it’s one of the neatest accessories I own, because it makes the tool look like something it isn’t.
Two habits help. Match the screw length to your board thickness using the chart Kreg includes, and drive pocket screws with the drill’s clutch set low. An impact driver can overdrive them and strip the pocket.
Plunge cuts, grout, caulk, and corners from one tool
An oscillating multi-tool is only as useful as the blades you keep on hand. Mine started paying off when I hung drywall and needed outlet openings. A plunge blade sank straight into the sheet and traced each box without a starter hole.
An assortment pack runs $15-$20 and widens the list quickly. A grout blade clears old grout lines. A scraper lifts caulk and dried adhesive. A sanding pad reaches corners my random orbit sander can’t touch. It’s a big part of why the multi-tool made my list of compact Ryobi tools that earn their space in a small shop.
Check two things before buying. Confirm the blades fit your tool’s mount, since patterns vary by brand. Also pick up at least one bimetal blade, because plain wood blades lose their teeth on the first hidden nail.
Buy the attachment before you buy the upgrade
Most of these add-ons cost less than a spare battery, and each one handed a tool I already owned a job it couldn’t do alone. That’s a better return than replacing a working drill with a pricier one. Start with whichever job you keep putting off. If it’s bolts, get the socket adapters. If it’s a crooked cut, get the guide.
Once the accessories are sorted, power is the next place to look. I got a similar boost when I swapped premium batteries into my budget Ryobi tools, and the two upgrades stack nicely. Your tools likely have more in them than the box suggested.
