

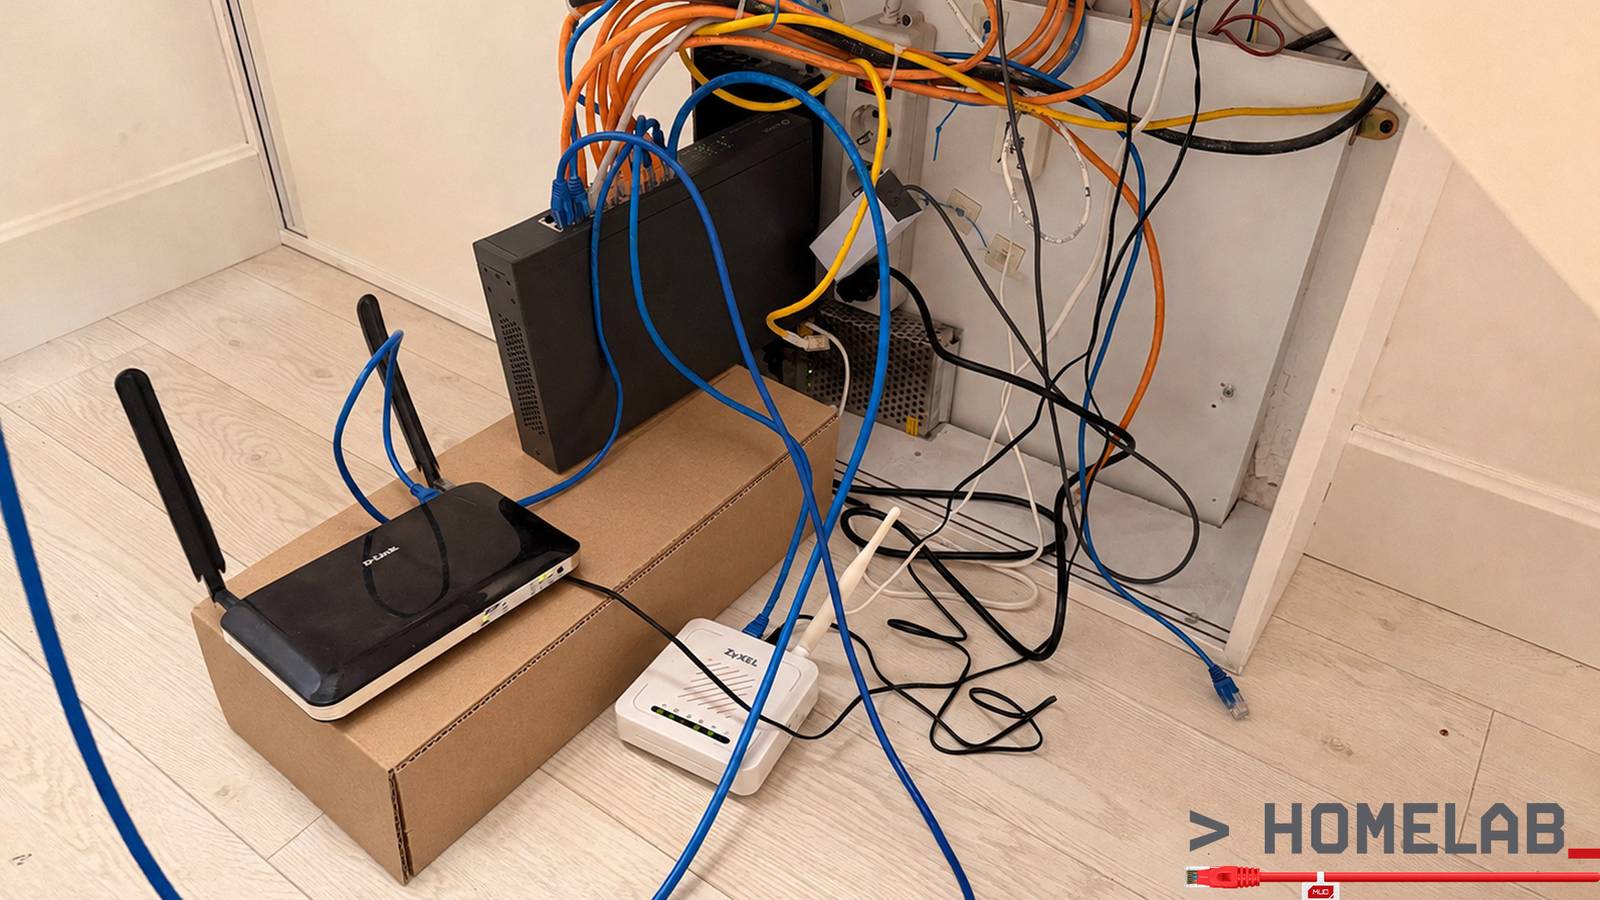

There’s a lot that a router can do other than routing. Once you realize this, there’s more and more to be done on this machine. In fact, once you ditch the stock manufacturer firmware and install OpenWrt, you eventually find yourself looking for non-routing tasks for your router to do.
Or at least that was the story with me. First, I moved my VPNs to the router. This meant that instead of running them separately on each device (and consuming battery and other resources on each), I’d only run them on the router. But then, OpenWrt made possible the dream of a multi-WAN setup. Then, I wanted policy routing. PBR in OpenWrt does a great job of this (alas, it doesn’t play well with MWAN3).
What if… I also installed Tailscale on my router? That’s where I had to hold and stop. I was already asking a tiny consumer router to do far more than it was ever built for. I was running out of RAM fast.
It doesn’t matter how good OpenWrt is — it won’t add RAM to my router. After all, this router was made to be used with basic manufacturer software and for the basic application of “routing.”
My Linksys EA8300 has only 256MB of RAM. The bigger Linksys WRT1900 is more capable, but that too only has 512MB of RAM. I did add USB sticks to both and built swap disks (hey, can you do that on your stock firmware? I don’t think so), but that’s slow RAM. And even if RAM is fixed, what about CPU?
I needed a fat, beefy router with lots of headroom to spare. Was I going to shell out over a grand on a “gaming” router? Bah. Of course not. Instead, on a friend’s tip, I did something even cooler.
I’ve got a custom router now.

I installed OpenWrt on a Proxmox VM
How much RAM do you want?

I got this hint from a friend. The breaking point for me was policy routing. I had a massive list of IP ranges that I wanted custom routing for, and the old router just couldn’t handle it without hitting its ceiling.
Around the same time, I had just finished setting up my new HP workstation for homelab purposes. And hey, why not just install OpenWrt on a VM?
The setup is straightforward. OpenWrt is Linux, and once the VM is up, it’s just another router panel. You go to 192.168.1.1 (make sure you haven’t set a conflicting static IP and don’t have another router at this address), change your password, make sure SSH is enabled, and you’re golden.
I could talk about all that you can do with OpenWrt, but that’s outside our scope here.

My network stack isn’t that relatable either, but for what it’s worth, it’s like this: DSL modem 1, DSL modem 2, LTE router, and satellite internet all go into a managed switch. The managed switch puts them into tagged VLANs, then sends them through a trunk to a port hooked up to the Proxmox machine. Fortunately, my HP Z6 G4 comes with two GbE ports, but with a managed switch, I need only one for all those WAN connections.
However, that second port comes in handy as an emergency direct-access port for Proxmox itself. In the unlikely event that OpenWrt crashes, that port’s got me covered.
Setting it up needs some clicks in Proxmox
It’s not plug and play, but it’s really simple
Since OpenWrt is running inside a VM, it can’t just grab the server’s Ethernet ports by itself. Proxmox needs to expose those physical connections to the VM first, which is what its Linux bridges are for.
My main LAN uses vmbr0. It’s connected to one of the server’s physical Ethernet ports, carries the regular 192.168.1.0/24 network, and is also where Proxmox itself gets its management address.
The other one is vmbr2. That’s connected to the second physical Ethernet port, which runs to the managed switch as an 802.1Q VLAN trunk. Instead of dedicating a separate cable and network adapter to every internet connection, that single link carries my Starlink, LTE, and DSL networks simultaneously, with VLAN tags keeping them separate. OpenWrt gets a virtual NIC attached to vmbr2 and handles those VLANs just as if they were separate physical interfaces.
There are a few extra bridges in my screenshot, but they aren’t required for the router itself. vmbr1 is left over from an older setup where one WAN had its own dedicated USB Ethernet adapter. That connection has since moved onto the VLAN trunk, so the bridge is now effectively a spare. vmbr10, vmbr11, and vmbr12 don’t connect to physical ports at all. I created those as isolated virtual links for my network-monitoring VM, so I could feed mirrored LAN and WAN traffic into Arkime without putting the monitoring system directly in the path of the network.
So, for the actual OpenWrt router setup, the important part is pleasantly small: one Proxmox bridge for the normal LAN and one bridge for the VLAN trunk carrying all of the WAN connections. The rest are remnants or monitoring infrastructure specific to my setup.
I can do so much more now
Router hardware is simply out of the equation

If you’ve ever locked yourself out of a router, you know the drill: you fat-finger a firewall rule or a VLAN tag, the web UI stops answering, and now you’re, unfortunately, hunting for a paperclip and a reset hole. There goes your config. Everyone who runs OpenWrt has done this. It’s why so many people set up their router once and then refuse to look at it again.
On a VM, you take a snapshot before you touch anything. Break it, roll back, thirty seconds, and you’re exactly where you started. I now make changes I would never have made on hardware because the cost of being wrong has dropped to almost nothing. It’s fantastic.
On top of all of that, if I want even more headroom — if I’m ever somehow unhappy with 4GB of RAM on my router — I open the VM’s hardware tab and type in a bigger number. That’s it. That’s the upgrade path. Try that on a consumer router!
