

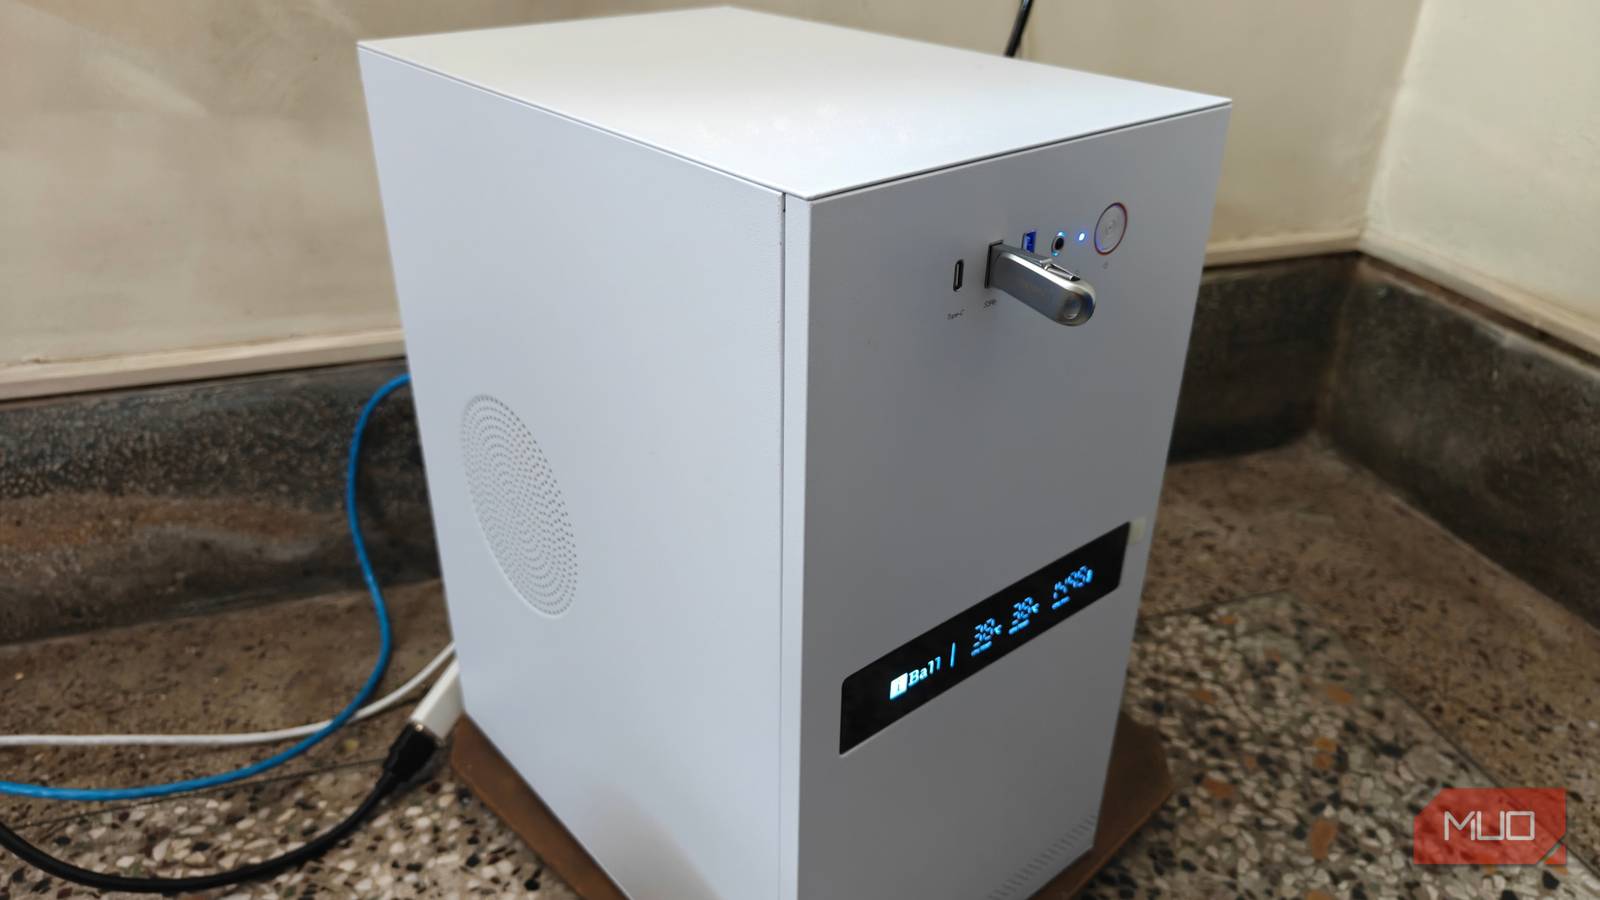

Upgrading PCs is funny business, and if you’re not careful, you might end up with too many parts. That is exactly what happened to me after I built my new AM4 PC: I was left with essentially an entirely new PC from the spares —minus the CPU.
The parts were (unfortunately) not worth much, so I decided to do the next best thing: attempt to build my very own home server. The whole process was surprisingly rewarding, and manages to sip power. More importantly, it uses standard x86 consumer PC parts, and still leaves room for further easy upgrades.
A (very) low-end AM4 system as the base
Just about enough for the essentials, with two upgrades in mind

I chose to reuse my existing AM4 system for this particular home server build. I had already upgraded the existing system to a newer motherboard, more RAM, and an RX 9070, so I was left with components I didn’t need. These roughly rounded up to the following:
- Gigabyte GA-A320M-S2H motherboard
- 8GB DDR4 3200 RAM (single stick)
- 512GB NVMe SSD as the sole boot and data drive
- Nvidia RTX A2000 (6GB) as the GPU
It’s a fairly decent setup, and it also includes a rather basic Gigabyte PSU to power it all. That said, I hadn’t picked up a CPU yet, and I wasn’t ready to part with my Ryzen 5 5600G just yet. I picked up a Ryzen 3400G for around $110 and threw it in as a basic CPU to get things moving. It’s a lot more underpowered, and has only 4 cores (and 8 threads) on the Zen+ architecture, but should be plenty for a home server. Moreover, I can always upgrade the CPU later on, should I need to. Its integrated Vega 11 graphics would be fine for most tasks too.
The motherboard was also something that needed to be swapped out. It’s old and uses the A320M chipset, which means no room for overclocking or other niceties, which is something I wanted to experiment with. It also just has fewer ports.
I ended up grabbing an MSI Pro B550M-P, and it’s been a joy so far. It has a ton of PCIe expansion ports, which should let me add things like 2.5 gigabit Ethernet and a dedicated Wi-Fi card. It also has two NVMe slots, overclocking support, and is much more feature-packed than the older, entry-level Gigabyte motherboard.
As things stand, it’s a pretty basic AM4 system. Nothing too fancy or powerful, but it should be enough to get the ball rolling and set up an upgrade path for the future.
Picking an operating system
Going with Proxmox, and maybe BSD later on
After installing Windows for the initial few BIOS updates, it was finally time to install a real OS for a DIY server. I chose Proxmox, since I wanted to run some containers and experiment with the RTX A2000 on my system.
Another area of interest was home labbing, and I wanted to test a gaming virtual machine, with the intention of moving it to a more powerful system later on. I’ve barely gotten to know the operating system, but I plan to try out BSD much later as well, once I’m more familiar with this kind of thing.
That being said, Proxmox is perfect for first-time home labbers. It’s a free, open-source Linux distribution that relies heavily on virtual machines to get things done. You can quite literally set it up as whatever you want, including a moderately powerful gaming virtual machine. But don’t worry: you can tailor the virtual machines to your hardware and what you want to do, so your hardware won’t hold you back.
Proxmox is entirely accessible using a browser interface, removing the need for a dedicated keyboard and mouse (even if I’d still recommend keeping a spare just in case). It’s also lightweight, and has fantastic community support, especially with the use of many automated scripts for certain workflows. Which makes it a perfect pick for a DIY home server.
There’s still room for upgrades
Dual-channel RAM, PCIe cards and more storage

Perhaps the biggest constraint in this setup is the measly 8GB of RAM, which is simply not enough in 2026. In my experience, you’ll want at least 12GB to spare, lest you end up using swap space often. 16GB is still the sweet spot (for now), and my next major upgrade will be adding another stick.
And to make matters worse, this is 8GB on a single RAM channel running at 2666 MHz, which means the CPU (and iGPU) will have its performance crippled. Adding another 8GB stick should be enough to level the playing field, and even flip the tables.
The next thing to get would be more storage, which might prove to be a challenge, given how crazy prices have gotten. The plan is to add an additional 256GB of NVMe storage in the secondary slot as a boot drive. The rest should be filled up using traditional HDDs of varying capacities.
As for the expansion port, there are a few picks I have in mind. First, an M.2 Wi-Fi adapter. This plugs into the spare x1 PCIe slot, and converts one of the laptop’s M.2 Wi-Fi cards (the Intel AX210 in this case) to work with the desktop.
Next, I’d add a simple 2.5 gigabit Ethernet card for an extra, faster Ethernet port. These two upgrades should cover networking, one of the central pillars of a home server.
This project is relatively new, and I don’t have enough data to come to a more technical conclusion. That being said, building a home server is perhaps one of the better tech-related decisions I’ve made this year, and I’m looking forward to my digital independence as it grows from here.
