


When Valve announced the Steam Machine, there was a lot of dismay (and rightfully so) over its price, and it was possible to even assemble a more powerful PC for roughly the same budget. But specs only tell half of the story.
The Steam Machine also has a bunch of other tricks up its sleeve, something which many will find expensive (or in some cases, outright impossible) to implement. Whether it’s the custom, tiny Mini-ITX form factor or the whisper-quiet, low-power internals, the Steam Machine still excels in a few areas.
One of these areas would be HDMI-CEC support — which comes fully baked in and integrated right into SteamOS. Since SteamOS runs on x86 hardware, this should be easy to implement, right? I wish it were that easy. I spent weeks in this rabbit hole, trying to make it work, and I believe I have a (mostly) foolproof workaround.
To get HDMI-CEC working, you’ll need three things
A specific adapter, a program, and a sleep hook

Most consumer-grade PC hardware does not support HDMI-CEC. In fact, these HDMI ports often lack the CEC pin, which makes HDMI-CEC impossible to use. This is true across Nvidia, AMD, and Intel GPUs.
Interestingly enough, almost all ARM-based computers have CEC support baked in, which creates a frustrating problem and raises the obvious question: how the heck do we get it working?
The answer lies with DisplayPort, which comes to aid us once again. DisplayPort 1.3 and higher supports CEC tunneling, which, in other words, means that you can push CEC signals to a compatible display.
This was tested on a standard Arch Linux install with an all-AMD laptop. Intel should also fare fine, but I wouldn’t expect the best from Nvidia cards. The workaround is prone to breakage. Be warned!
Of course, you can’t just connect a TV using a regular HDMI-to-DisplayPort cable. No, that would be too easy! You’ll need a specific DP-to-HDMI adapter for this to work. The adapter works by converting the DisplayPort signal to HDMI, while keeping the CEC control pin connected.
In this case, it was the UGREEN 8K@60Hz 2k@240Hz Active DP to HDMI Unidirectional Adapter. Quite a mouthful, but at least it’s not terribly expensive. I got mine for around $14, and it doesn’t look all that special. Looks can be deceiving, though, and this adapter has been referenced almost everywhere as the mysterious holy grail of CEC control.
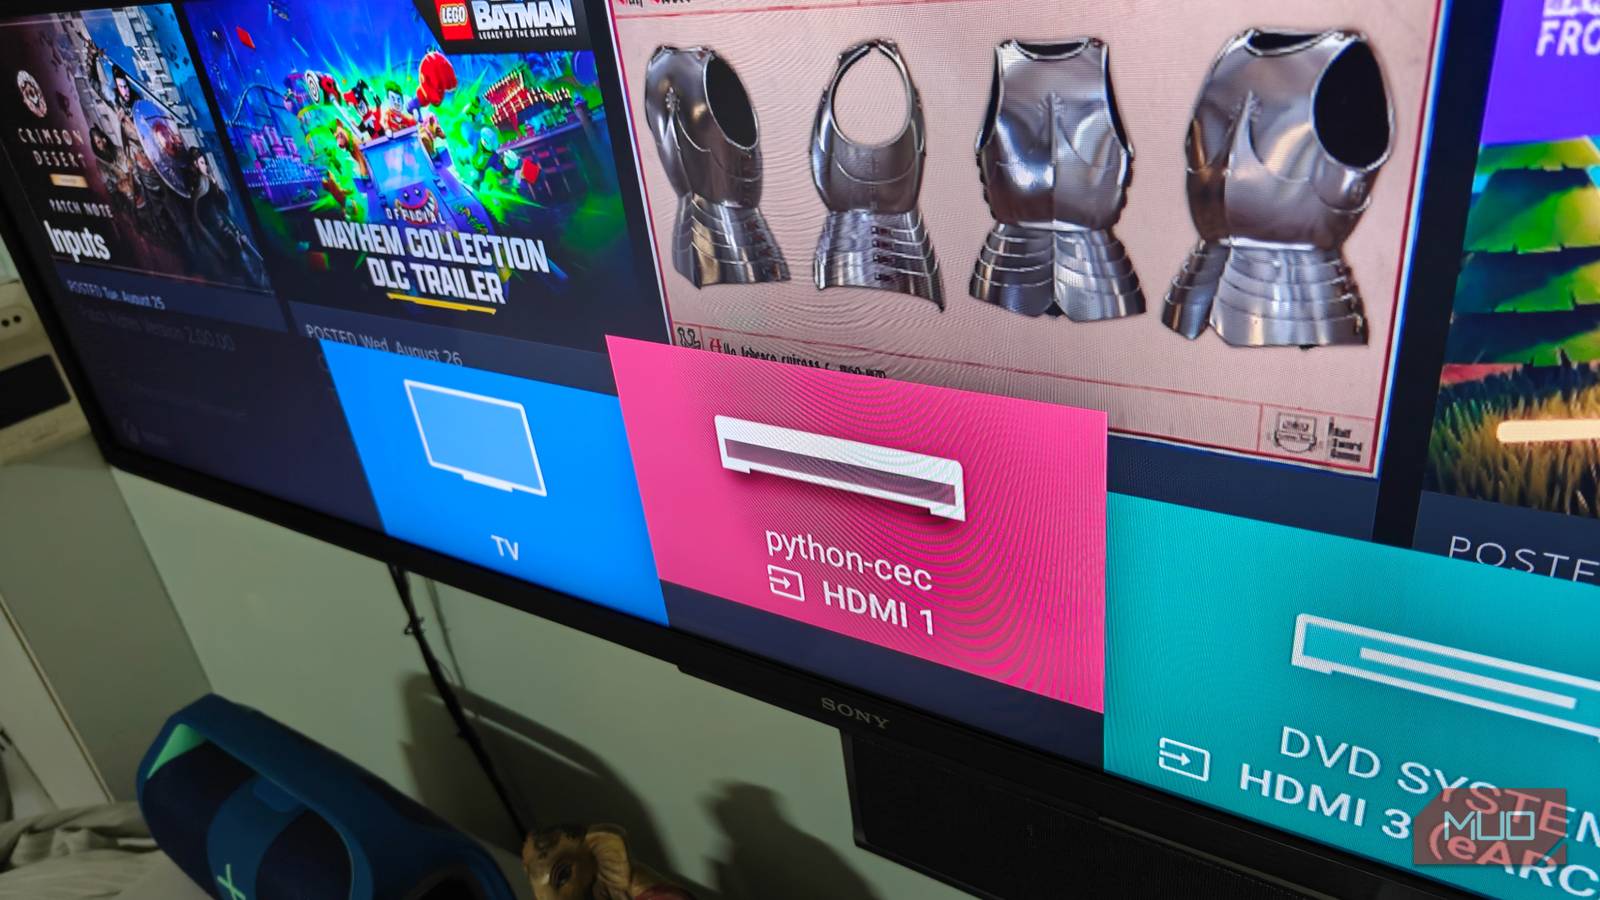
That said, the adapter only exposes the CEC interface. It doesn’t automate it. Even worse, SteamOS doesn’t seem to recognize the adapter’s capabilities, and I’m pretty sure it only works with real HDMI-CEC-capable ports.
CEC device detection often fails when daisy-chaining adapters. Avoid using dongles and connect the adapter directly to the GPU.
Which means we will have to rely on additional programs to get things done. The second part of this puzzle is a program called cecdaemon, which is (as the name suggests) a daemon for cec-ctl, the command that does the heavy lifting.
Cecdaemon is also available through the AUR, but I’d recommend downloading and compiling from source for the most up-to-date version. It also comes with a few niceties, such as renaming the TV source and being able to set custom events with each remote keypress.
It’s not complete, though, and you’ll still require services to hook in cec-ctl-specific commands whenever you sleep or wake up the system. Cecdaemon doesn’t seem to handle this well at all, so I had to turn my attention to crafting a sleep service hook, with (some careful guidance) from Claude.
Scripting: What works and what doesn’t
Most of it works, with some surprise features thrown in
At this point, we have what we need. CEC control works via a terminal (including wake from sleep!), but we need to configure both cecdaemon and create the sleep hook to automate the entire process.
You’ll need to put both the PC and TV on standby for this to work. Power cycling will break things. Also, you cannot wake from a power-off state — both devices must be in standby.
Cecdaemon has a nifty configuration file located in the /etc directory. You’ll want to swap out the standby and wake commands, and rename the device to something you like — otherwise it will default to CECDAEMON. As for the remote controls, I left them as is, and no additional configuration was needed.
sudo nano /etc/cecdaemon.conf

[triggers]
standby = /usr/bin/cec-ctl -d /dev/cec0 --to 0 --standby
wake = /usr/bin/cec-ctl -d /dev/cec0 --to 0 --image-view-on --active-source phys-addr=1.0.0.0

[tv]
# Truncated to 14 character max; swap to whatever you need
name = Z13

sudo systemctl daemon-reload
sudo systemctl enable --now cecdaemon.service
Restarting and enabling cecdaemon ensures the program auto-starts on boot, but you might need to tweak its service file to get things working. I’ll provide mine for reference, and it’s one that works (even if it is basic).
sudo nano /etc/systemd/system/cecdaemon.service

[Unit]
Description=Starts the custom CEC daemon
After=systemd-modules-load.service
#StartLimitIntervalSec=300
#StartLimitBurst=10

[Service]
Type=simple
ExecStart=/usr/bin/cecdaemon --config /etc/cecdaemon.conf
Restart=always
RestartSec=5

[Install]
WantedBy=multi-user.target
By now we should have both remote control and CEC device detection working. You can navigate the entire SteamOS interface with the TV remote, even if actions like backward and more require manual key mapping.
There’s still the elephant in the room that hasn’t been quite conveniently addressed, which would be sleep and wake. Sleep/wake is notoriously difficult to get working, and the SteamOS user interface doesn’t know how to get the adapter working, even if its CEC interface is exposed.
As such, we will have to turn our attention to sleep hooks and create a sort of hacky workaround. Adding in a custom sleep command script was enough to have the system trigger a very specific set of commands to wake or suspend the computer.
sudo nano /usr/lib/systemd/system-sleep/00-mysleep

#!/bin/bash
case "$1" in
  pre)
    logger -t mysleep "going down ($2)"
    # commands before sleep
    /usr/bin/cec-ctl -d /dev/cec0 --to 0 --standby
    ;;
  post)
    logger -t mysleep "coming back ($2)"
    # commands after wake
    /usr/bin/cec-ctl -d /dev/cec0 --to 0 --image-view-on --active-source phys-addr=1.0.0.0
    ;;
esac
exit 0

sudo chmod +x /usr/lib/systemd/system-sleep/00-mysleep
The wake command in particular is a bit funky. For starters, –image-view-on can technically wake the TV, but it has no way of switching the device to the active input (of the computer). Which is why active-source and phys-addr are combined into the command to switch to the active HDMI and map the correct address on the DP-to-HDMI adapter, respectively.
Not all TVs are the same. Some require appending –text-view-on instead of –image-view-on. Experiment and see what works.
The sleep script triggers every time a sleep event is run system-wide. It automatically detects whether the system is waking up or going to sleep, and runs the cec-ctl commands accordingly to “simulate” real CEC control.
With everything finalized and confirmed to be working, all I needed to do was reboot the system and see if it all worked correctly. One reboot later, and success! Everything worked, and we finally have the SteamOS feature everyone desires, but now working for custom PCs — without resorting to something a lot more expensive like the Pulse-Eight adapter.
You might not need to go through this ridiculously convoluted step in the future
There’s no denying the fact that this is a rather complicated setup; that’s much more difficult than just plugging in a cable and expecting things to “just work”. The sleep/wake cycle is also entirely based on a hacky workaround, and it doesn’t sit right with me.
I’d much rather have a cleaner workaround, and we might not have to suffer for eternity. SteamOS routinely receives updates and features, and I can only hope that Valve adds support for CEC control over DisplayPort-to-HDMI adapters at some point. Either that or we will have to stick to hooks, which makes me a bit sad. Either way, this solution also works for non-SteamOS gaming distros too, so feel free to experiment!
